
Have you ever hit the “send” button of an email only to realize moments later that you made a mistake? You may have spotted a typo, forgotten to attach a crucial document, or accidentally sent it to the wrong recipient. I wouldn’t know about you, but I’ve been there and experienced the sinking feeling that follows. Trust me, it can be disheartening, depending on the mail’s relevance. I had spent hours crafting what I thought was a flawless email as an email marketer, only to realize, to my horror, that I had addressed it to the wrong audience. Panic set in as I frantically searched for a solution. Thankfully, I remembered a feature in Outlook that I had heard about but had yet to have the opportunity to use: the ability to retract and resend emails in Outlook. I had to check out the steps, and surprisingly, it was relatively simple.
Today, my goal is to guide you through these steps so you too can retract and resend emails in Outlook, regardless of the device you use if the need arises.
Key Points
- If you accidentally sent a mail to the wrong recipient, spotted a typo, or forgot to attach a crucial document to a mail in Outlook, you can retract and resend the mail.
- The key to correcting erroneous messages sent with Outlook is to act quickly, immediately after you notice the error.
- It’s much better to retract and resend emails when the recipient has yet to read the message
- Retracting and resending Outlook emails is possible across many your device
- Whenever you retract and resend an email in Outlook, the recipient will receive the updated email.
Is it Possible to Retract Emails Sent with Outlook?
Yes, it’s very possible to retract an email sent in Outlook.
How Do I Retract and Resend an Email in Outlook?
If, for any reason, you need to retract and resend an email in Outlook, the key to correcting this is to act quickly. I once applied for remote administrative assistance and realized I sent the mail without my updated portfolio. As soon as I realized my mistake, I resisted the urge to panic and instead focused on finding a solution. The steps below will be handy if you find yourself in a similar situation:
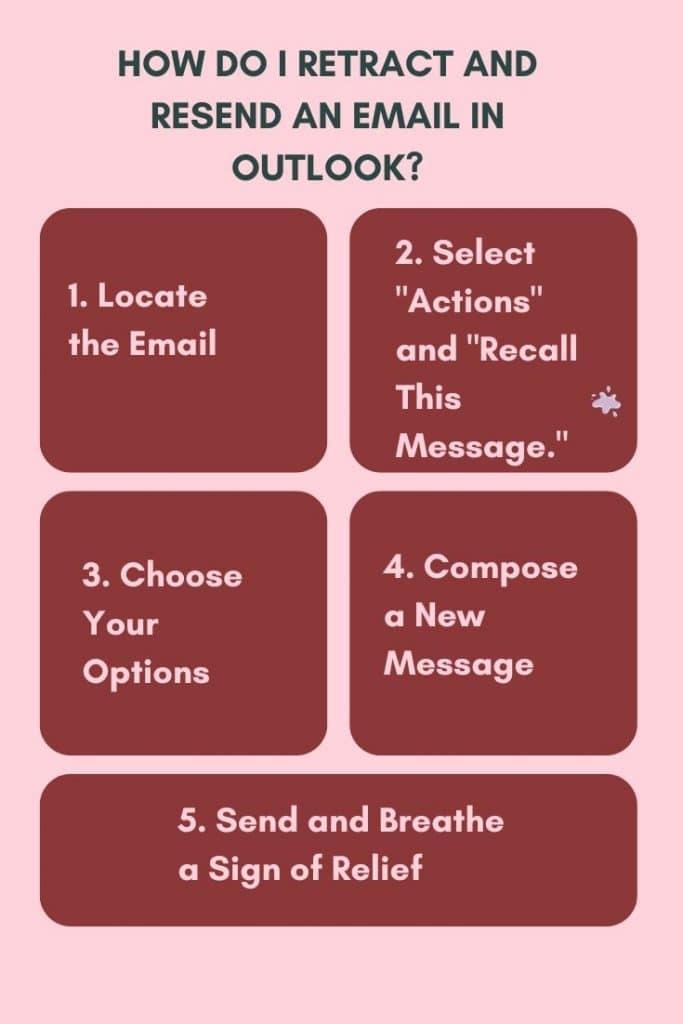
#1. Locate the Email
To retract a sent email in Outlook, the first thing you’ll have to do is “locate the mail.” To do this, simply go to your “Sent Items” folder and find the offending message. Once you’ve identified the mail you intend to retract, you can move on to the next step. However, remember to stay calm through the process. This is because it gives you a clear mind to make the necessary corrections.
#2. Select “Actions” and “Recall This Message.”
Once I located the email, I clicked on the “Actions” tab at the top of the screen and selected “Recall This Message” from the drop-down menu. This feature allows you to retract the email from the recipient’s inbox, provided they haven’t opened it yet. I mentioned you can retrace a message in Outlook, but there are conditions under which it’s possible. However, it’s relatively easy if the recipient has not read the message.
#3. Choose Your Options
After selecting “Recall This Message,” Outlook gives you the option to delete the email entirely or replace it with a new message. I chose to replace it with a corrected version, ensuring that the recipient would receive the updated information without ever knowing about my initial mistake. If you choose Delete unread copies and replace them with a new message, the old message will open for editing. When you click Send, the old email message is erased from the recipient’s inbox and replaced with the freshly updated version.
#4. Compose a New Message
With the original email successfully retracted, I composed a new message containing the corrected information. I can’t possibly make the same mistake twice, so I double-checked everything before hitting the “send” button. However, this was done in record time. It’s just my insecurity, though. I kept thinking that if I spent much time on it, the recipient might view the initial message I sent. However, I don’t think it’s possible with Outlook, but then I couldn’t help it.
#5. Breathe a Sigh of Relief
Once the send button is clicked, you can rest assured that you’re now in safe hands. With the corrected email safely on its way to the intended recipient, I breathed a sigh of relief, grateful for Outlook’s lifesaving feature. By the way, I didn’t get the role, but I was glad I learned how to retract or resend an email in Outlook with that experience.
How Do I Resend an Email in Outlook on my iPhone?
If you rely on an iPhone for work emails, you’ll become intimately familiar with the joys and pitfalls of mobile productivity. That may include noticing you made a mistake with the last email you sent. Well, you can resend it using the steps below:
- Take a Deep Breath and Assess the Situation: The first rule in email emergencies is to stay calm. Instead of giving in to the panic bubbling up inside you, take a deep breath and remind yourself that there’s always a solution, especially when Outlook is at your fingertips.
- Locate the Sent Email in Outlook: With a steady hand, open up the Outlook app on your iPhone and go to the “Sent Items” folder.
- Tap and Hold to Select the Email: In Outlook for iPhone, tapping and holding on an email in the “Sent Items” folder activates a selection mode. With a sense of determination, hold down the email in question until a menu pops up.
- Select “Resend:” Among the options that’ll appear in the menu, you’ll see “Resend.” Tap on it, because you’ll receive a second chance immediately after that.
- Add the Missing Details or Attachment: With the email now open and ready for editing, rectify your mistake by adding the missing document. This time, make sure to double-check everything before proceeding to the next step.
- Hit “Send“: With the email now complete and correct, review it one last time and hit the “send” button.
What Happens When You Retract an Email in Outlook?
When you retract an email in Outlook, the message you sent is retrieved from the recipient’s mailbox. However, this works on the condition that the recipient has yet to open the mail or that the recipient allows message recall in their settings. Retracting emails becomes handy when you intend to replace the message. If the recipient hasn’t opened the email yet and their email client supports message recall, Outlook will try to delete the original email from the recipient’s inbox before they see it. In this case, the recipient won’t receive the original message, and they’ll receive a notification that you attempted to recall the message.
Why Can’t I Recall an Email in Outlook?
According to Microsoft Support, there are many reasons why you can’t recall a message in Outlook. It could be that you don’t have an Exchange account or that the feature isn’t available within your organization. Secondly, it’s impossible to recall a message that’s protected by Azure Information. Lastly, as reported by Microsoft Support, it’s impossible to recall a message in Outlook on the web. In summary, recalling an email in Outlook isn’t always guaranteed to work, and there are several reasons why you might not be able to recall an email.
How to Resend an Email in Outlook
Have you ever meticulously crafted an email and hit “send” with a sense of accomplishment, only to realize moments later that you forgot to attach a crucial file or include an essential detail? Trust me, it’s not a good feeling. Luckily, Outlook has made provisions for you to easily resend your emails with the steps below:
- Go to Sent Items: Open your Outlook and go to the “Sent Items” folder. This folder contains a record of all the emails you’ve sent.
- Identify the Email: Scan through the list of sent emails to locate the one you want to resend. You can use the search bar at the top of the window to quickly find specific emails if you remember any keywords.
- Select the Email: Once you’ve found the email you want to resend, click on it to open it in the reading pane. You don’t need to double-click to open it fully, just select it to preview its content.
- Locate the Resend Button: Look for the “Resend” option in the toolbar at the top of the email. Depending on your version of Outlook, this button might be located under the “Actions” menu or displayed prominently in the toolbar. It typically looks like an envelope with a curved arrow.
- Click Resend: Click on the “Resend” button. This will open a new email composition window with the original email content preloaded.
- Review and Edit: Take a moment to review the email content. You can do so now if you need to make any changes or updates. For example, you might want to add additional information or correct any errors in the original email.
- Send: Once you’re satisfied with the email, click on the “Send” button to resend it to the recipient(s). Outlook will process the email and send it out immediately.
How to Resend an Email in Outlook Web
Resending an email in Outlook Web is quite similar to doing it in your desktop application. It’s a handy feature for quickly sending out important messages again, whether you need to make changes to the original email or simply resend it as is. The following steps will help you resend an email in Outlook using your web application:
- Sign in to Outlook Web: Go to the Outlook website and sign in to your account using your email address and password.
- Access Sent Items: Once you’re logged in, navigate to the “Sent Items” folder. You can usually find this in the left sidebar menu.
- Find the Email: Scroll through the list of sent emails to locate the one you want to resend. You can also use the search bar at the top to search for specific emails by sender, subject, or keywords.
- Open the Email: Click on the email you want to resend to open it. This will display the email content in the reading pane on the right side of the screen.
- Resend Option: Look for the “More actions” (…) button near the top-right corner of the email window. Click on it to open a drop-down menu.
- Select Resend: In the drop-down menu, you should see an option labeled “Resend message.” Click on this option.
- Review and Edit (Optional): A new email composition window will open with the original email content preloaded. Take a moment to review the email and make any necessary edits or updates.
- Send: Once you’re satisfied with the email, click on the “Send” button to resend it to the recipient, and that’s it. You are good to go!
Conclusion
Sending an email to the wrong person or missing out on certain important details in an email can be a stressful experience. On the other hand, knowing how to retract and resend the email can save the day. With the detailed steps above, you don’t have to worry because the errors can be fixed. However, remember that you need to stay calm, act swiftly, and use the features available to you in Outlook to fix the mess. My personal experience taught me that anyone can minimize the fallout from a simple mistake and maintain their professional reputation by following the guide above.
- The 2024 Showdown: Unveiling The True Best Email Services For Every Need
- Gmail vs. Outlook: A Personal Journey through the Inbox
- HOW TO CREATE AN OUTLOOK ACCOUNT: Detailed Simple Steps
- BEST EMAIL SERVICE FOR BUSINESS(+ Free Options)